Warning: I am not Indian, and I'm not great at actually measuring things.... but to my taste, this was so so so yummy, easy and I hope you try it.
Marinade: I used 5 HUGE chicken breasts... in olive oil and a bit of lime juice (or vinegar or lemon juice works to tenderize the meat)...1 fresh onion diced, 6 cloves garlic minced, 3 Tbspns Garam Masala, 2tsp, ground cumin, 1-2tsp coarse salt, black pepper to taste, 1 tbsp paprika, 1 tbsp curry, 1tbsp corriander. Let sit overnight in your fridge... you don't have to... but the flavors get deeper. I used frozen chicken breasts so I put the spices on them as they thawed in my fridge.
Fry in 2-3 tbsps butter... about 5 minutes each side, so that they get a little brown on each side. Medium heat.
Flip and brown each side.
My breasts were so big (hahahaha, All you Mintz ladies know exactly how funny that is!!), that I reduced the heat (NOTHING ELSE) to low and put the lid for 10 minutes on so that they would be thoroughly cooked inside.
Let them cool a bit, because you're going to chop them up... at this point you could even put them in the fridge and cut them another day... you've done the most time consuming part of this recipe already... most of the time I use the leftovers of a roasted chicken. See all that GOODNESS in the bottom of the pan? DON'T throw it out. Don't you dare. That stuff right there is THE mind-blowing flavor that will have you wanting this dish over any thing else in your life.
Next you'll need some Crushed Tomatoes. I know. What is someone who's not in the food industry doing with such a HUGE (2.4 Liters to be exact!) can of crushed tomatoes. I'll tell you. It's 3$. THREE DOLLARS PEOPLE! This can is as cheap as two small cans of crushed tomatoes and it's at least 4X as much! Just half of this can means I can cook this sauce and it will last me 5 meals... I freeze it and don't have to cook another day. I give it away as an easy meal to those who are under the weather, just had a baby, or as a fair trade to someone who gives me raw milk. AND I still have the other half to make pasta sauce with! Score.
Add the leftover goodness from the bottom of your fry pan to HALF that large can (or about TWO 796ml cans) in a stock pot.
Your chicken should be cool enough to handle... cut it up, de-bone it (SO easy to de-bone it when it's already cooked... and way cheaper to buy bone in...) CONTROL YOUR SELF at this point. DO NOT EAT ALL OF THE CHICKEN... one or two bites at the most... the chicken GOES IN THE POT.
Add to your sauce.
Don't wash that pan yet. Add a bit more butter and fry some more onions in it. oh baby baby baby. You might lose me here.
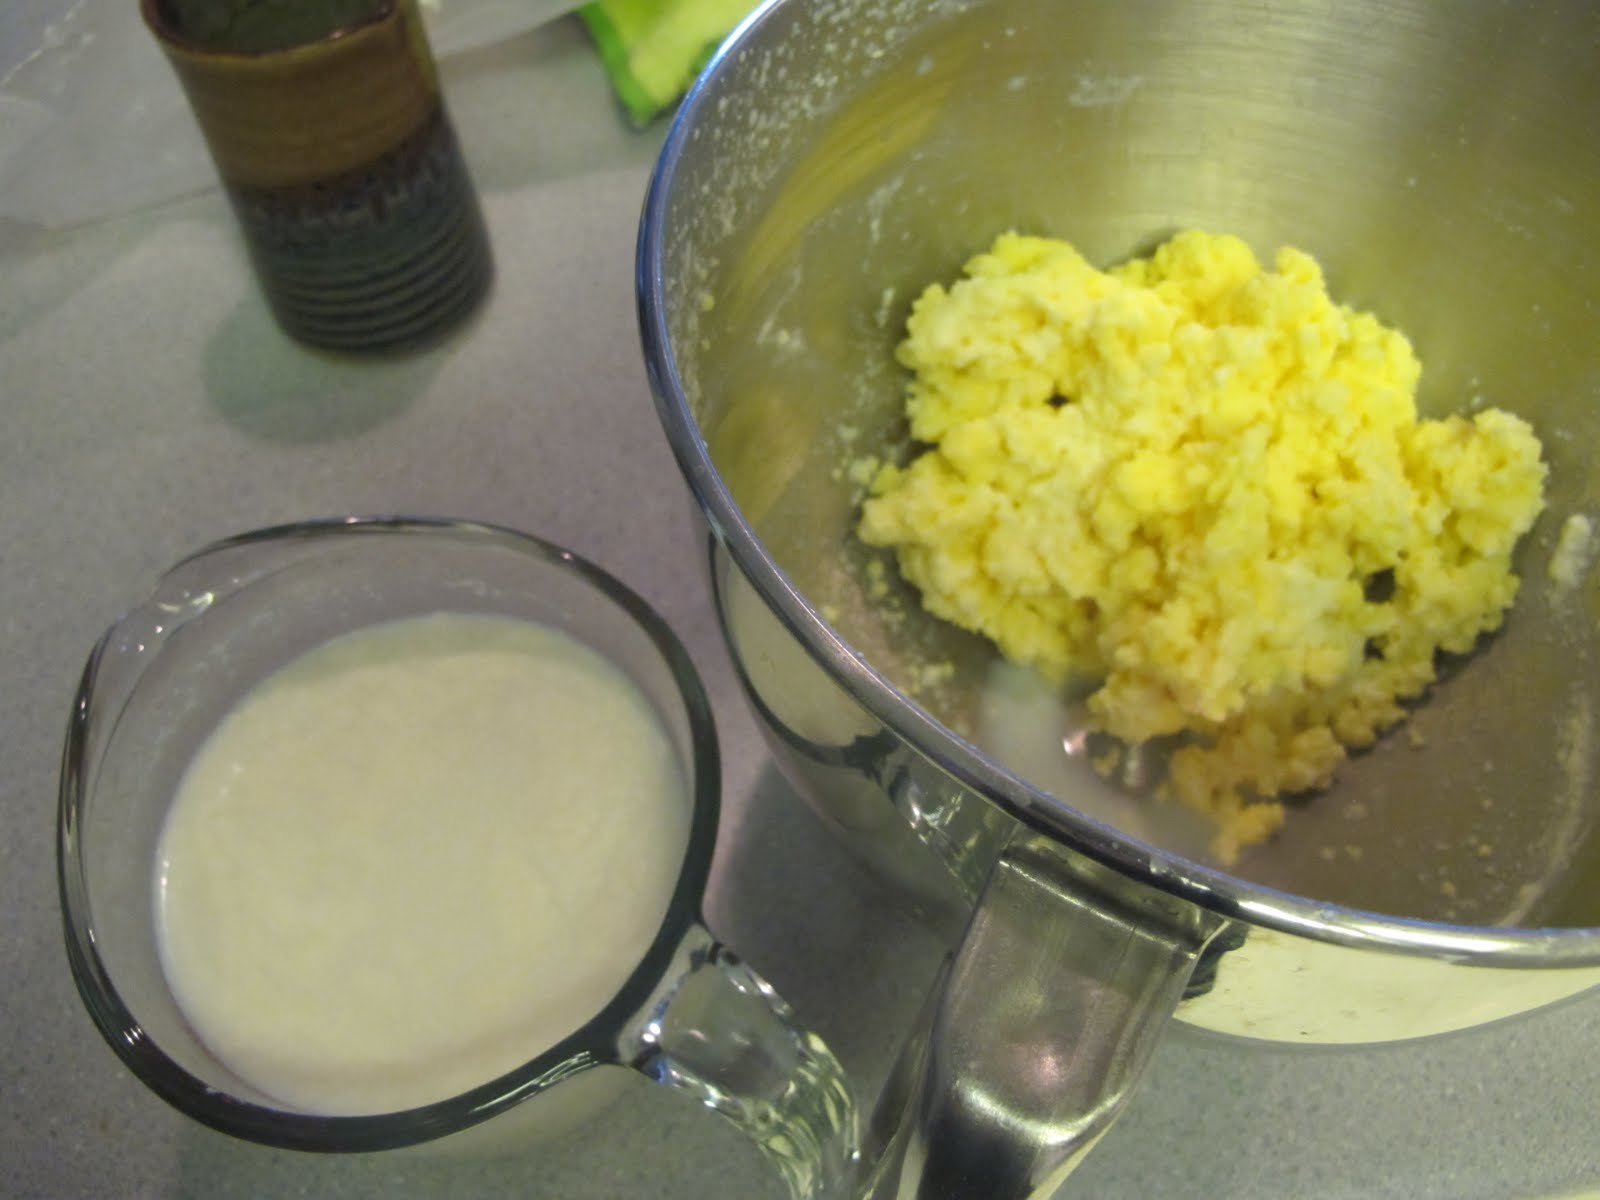
Add 1-2 cups of cream or milk, whatever you like, fuller fat is yummier, but that will mean you'll have to watch your portion intake!
Add enough so that it turns a nice pink colour. Serve over brown rice with Naan Bread... You MUST have the Naan Bread. Get it, keep it in your freezer until you are ready to make this meal.
Special shout out to Nicole Krahn for inspiring me to make this dish when she dropped it off at my house when Nova (I think) was born. YOU HAVE CHANGED MY LIFE.
The best part... I can't believe my kids eat it.... like GOBBLE it up. To make sure I have leftovers, so that I can eat it alone the next day in the privacy of my obscene facial expressions and moans, I need to limit the amount that they eat. Wes hates spicy food, but to him spicy food means you can see little bits of something in it... like parsley... oooo that's so spicy Wes... and THIS isn't? Cool. I won't argue.
Showing posts with label butter. Show all posts
Friday, June 10, 2011
Sunday, May 8, 2011
Sprouted Whole Grain Bread
After I made my first batch of butter I was left with the liquid I've been assured is indeed buttermilk. The only thing I was sure I could use it for was to make bread. I let it sit on the counter so that it would warm to room temperature, and I set out to find a Whole Grain Bread Recipe that used buttermilk.
This week I made a visit to Anita's Organic Grain and Flour Mill in a tiny little hamlet called Greendale, 10 minutes from Chilliwack. I picked up some stone-gound Sprouted Whole Grain Flour and some stone-ground Organic Kamut Flour (which I pronounced wrong the entire time I was in the store). My intention is to add a bit of it to the bread that I make. I've been making about half the bread we consume since Christmas and I hope if I can get the hang of it that I'll be making all of it. I won't put that kind of pressure on myself just yet, but that's the goal. My bread consists of mainly 4 or 5 natural ingredients.... and since I've been avoiding processed foods and especially anything with corn or soy in them, I am finding that making my own bread is more than worth it. The Sprouted Grain and Kamut flours (among a host of other natural, unprocessed, heritage flours) are higher in fibre and nutrients and overall are just so much healthier for our bodies.
Thank-ful for my days cooking for a bunch of wild tree-planters.... where if I wasn't good at baking bread, I sure practiced.
Step 1 - In a large mixing bowl sprinkle the yeast over the warm water and stir briefly to dissolve. Set aside while allowing the buttermilk to reach room temperature.
Step 2 - When at room temperature, pour the buttermilk, bread flour, 1 cup whole wheat flour, oil, brown sugar or molasses, baking powder, and salt into the yeast mixture. Blend at low speed (LOW people... I turned mine to the '2' and had flour spurt up all over my kitchen and newly washed dishes... like I want to wash them TWICE. argh!)

in a mixer until the flour and the dry ingredients are absorbed. With the bread hook stir in the remaining whole wheat flour, 1/2 cup at a time, and, when it becomes thick, work with the fingers. Allow 4 to 5 minutes for the whole wheat flour to fully absorb the liquid before adding more flour. The dough will be slightly sticky and soft.
Step 6 - Bake the loaf or loaves in the oven until they are golden brown and loose in the pans, about 30-35 minutes. The loaves are baked if the sound is hard and hollow when thumped on the bottom crust.
This week I made a visit to Anita's Organic Grain and Flour Mill in a tiny little hamlet called Greendale, 10 minutes from Chilliwack. I picked up some stone-gound Sprouted Whole Grain Flour and some stone-ground Organic Kamut Flour (which I pronounced wrong the entire time I was in the store). My intention is to add a bit of it to the bread that I make. I've been making about half the bread we consume since Christmas and I hope if I can get the hang of it that I'll be making all of it. I won't put that kind of pressure on myself just yet, but that's the goal. My bread consists of mainly 4 or 5 natural ingredients.... and since I've been avoiding processed foods and especially anything with corn or soy in them, I am finding that making my own bread is more than worth it. The Sprouted Grain and Kamut flours (among a host of other natural, unprocessed, heritage flours) are higher in fibre and nutrients and overall are just so much healthier for our bodies.
Thank-ful for my days cooking for a bunch of wild tree-planters.... where if I wasn't good at baking bread, I sure practiced.
Buttermilk Whole Wheat Bread from Bernard Clayton's New Complete Book of Breads
makes 1 9"x5" or 2 8.5"x4.5" loaves
Ingredients
2 teaspoons instant yeast
3/4 cup warm water (105-115F)
1-1/4 cups buttermilk, room temperature
1/4 c oil
1-1/2 cups white flour, approximately
3 cups whole wheat flour, (I used stone-ground sprouted)
2 teaspoons baking powder
2 teaspoons salt which I forgot to add :(
Step 2 - When at room temperature, pour the buttermilk, bread flour, 1 cup whole wheat flour, oil, brown sugar or molasses, baking powder, and salt into the yeast mixture. Blend at low speed (LOW people... I turned mine to the '2' and had flour spurt up all over my kitchen and newly washed dishes... like I want to wash them TWICE. argh!)in a mixer until the flour and the dry ingredients are absorbed. With the bread hook stir in the remaining whole wheat flour, 1/2 cup at a time, and, when it becomes thick, work with the fingers. Allow 4 to 5 minutes for the whole wheat flour to fully absorb the liquid before adding more flour. The dough will be slightly sticky and soft.
Step 4 - Punch down and shape into loaves, tucking the ends in. I always use parchment paper.... there's no hassel getting the loaves out of the pan that way. Let rise another hour. For a really beautiful crust, brush on a beaten egg.
Step 6 - Bake the loaf or loaves in the oven until they are golden brown and loose in the pans, about 30-35 minutes. The loaves are baked if the sound is hard and hollow when thumped on the bottom crust.
Step 7 - Remove loaves from the oven and place on wire racks to cool.
Saturday, May 7, 2011
I can't believe it's BUTTER!
Just made my own butter. WHAT THE VEGT?! I HAVE HAD A SUCCESS!
You can see the cream separated from the milk. I've already skimmed off more than half the cream.
Getting ready to whip in my Kitchen Aid
Skimming
Whipping.
Getting Thicker.
Whip Cream.
Even thicker.
I added salt at this stage. I probably should have waited and just added it to the butter.... because what happened next surprised me. (Rookie that I am)
The Butter is separating from what I'm guessing is Buttermilk.
LOOK AT IT! I ACTUALLY DID IT!!!
draining the buttermilk from the butter
Now I have salty butter milk and salted butter.
CAN YOU BELIEVE IT?!
I just made butter!
I will NOT learn how to make Dutch Pancakes
What can you make with fresh raw milk and fresh free range eggs on a Saturday morning. If you're my husband, you'd make Dutch Pancakes. Crepes really. With homemade Maple Syrup from my mom's neighbours in the town of Parry Sound in Northern Ontario where I grew up. I could post the recipe, but it's always been my goal to never learn how to make them. I don't have the recipe. That little bit of advice came from my mother-in-law 11 years ago and it's advice that I've never questioned. She told me she had her future daughter-in-laws in mind when she taught both her boys to make Dutch Pancakes. One of us has never learned.... the other has never had them made for her again. (ok, I don't know that for sure, 100%, but I do know she regretted learning almost immediately)
This is my dutch pancake making hero.
When I was given some more raw milk, I decided not to waste it on trying to make yogurt quite yet. My fridge actually only has raw milk in it now and so we need the milk for drinking. It's so cool to see the milk and cream separating. I have one jug of milk from a jersey cow and the amount of cream in that jug is almost double the amount in the other jug... and it is slightly more yellowish in colour. This is the cream I plan on making into butter.
I knew the fresh eggs and fresh raw milk would be better for us with their higher nutrient content, but I didn't think they would actually make things taste differently. OH MY WORD. Those were the yummiest, tastiest, freshest pancakes I've ever consumed. They did taste different. They were rich, creamy, perfect in texture. They were the best Dutch Pancakes EVER!!! They tasted, well... fresh.
I'm looking around to see what I can take a picture of... but it's too late. Those pancakes are gone. Long gone. Next time I'll remember to get out my camera and post pictures of the process.
Imagine a Bed and Breakfast boasting of it's farm fresh breakfasts like this. Add in a little bacon from the pig we raised and I think we'd have a booming business.
Subscribe to:
Posts (Atom)


